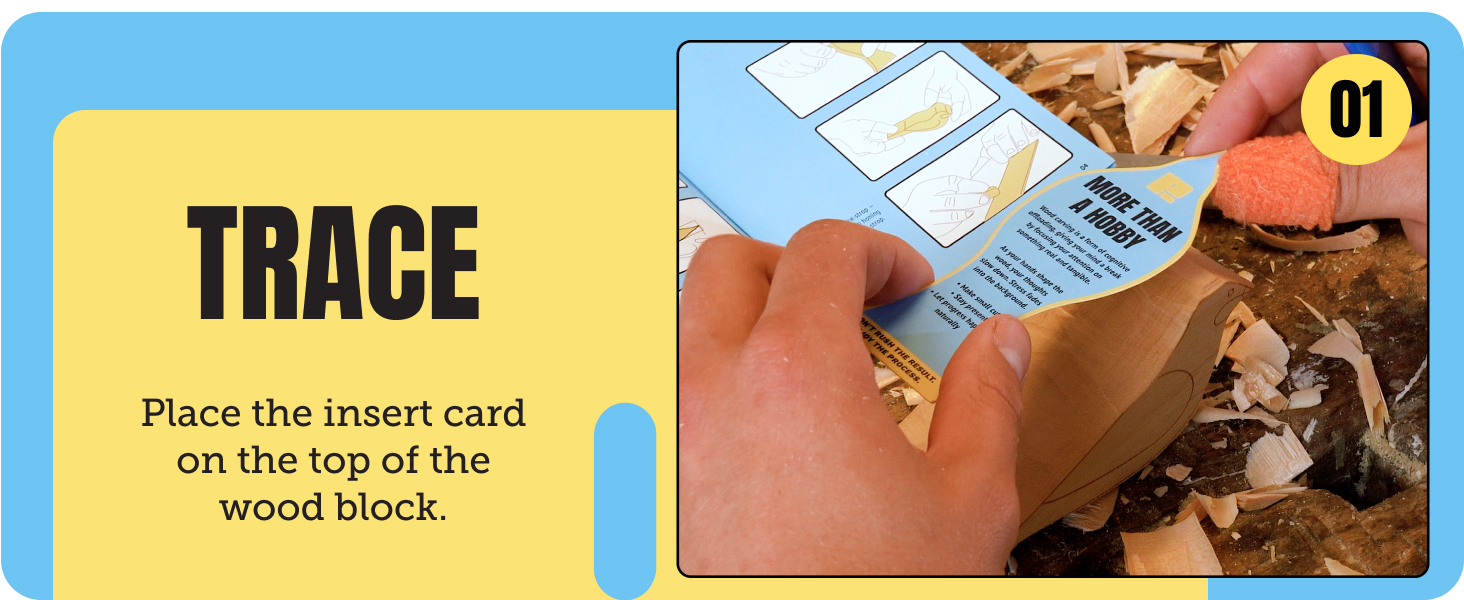
Trace
Place the insert card on top of the wood block and line it up with the pre-marked bird shape.
- Work on a flat, stable surface with good light.
- You have two cedar blocks, so the first one can be your practice run.
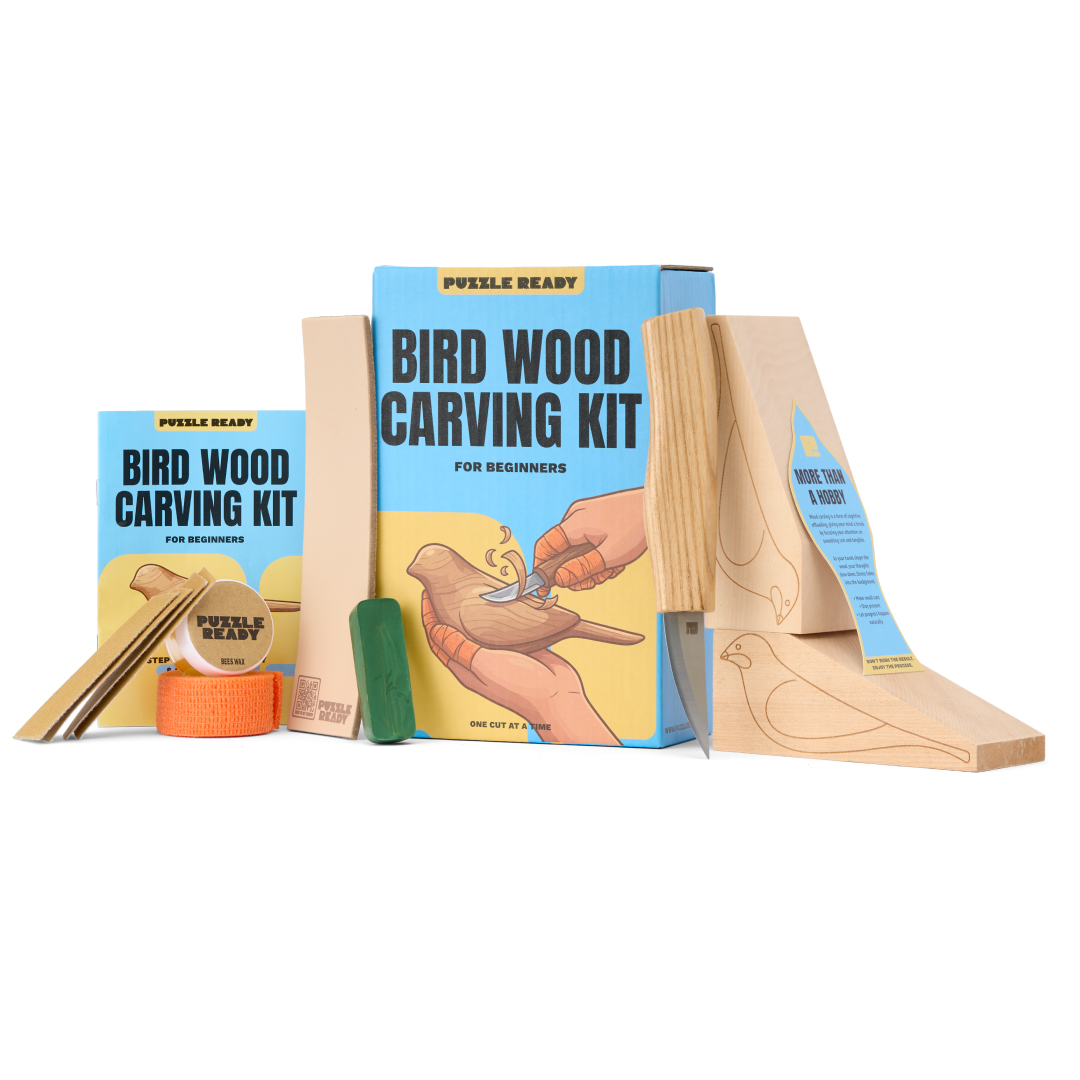
You've got the kit. This page has the rest: the full video tutorial, the four steps written out, and a few tips to keep your knife sharp and your fingers safe. Don't rush the result. Enjoy the process.
Wrap the finger tape around the thumb and fingers of the hand holding the wood. That's the hand that gets cut, not the knife hand.
Push the blade away from your body and your holding hand. Small, controlled cuts beat big ones every time.
A sharp blade needs less force, so it slips less. Give it a few passes on the strop before you begin.
The knife is a real, sharp blade. Kids should always carve with an adult alongside them.
48 minutes, start to finish. Pause, rewind, take a break. Jump to any part with the buttons below the video.
Prefer reading to watching? Here's the whole process. Keep the printed manual next to you for the cutting angles.

Place the insert card on top of the wood block and line it up with the pre-marked bird shape.

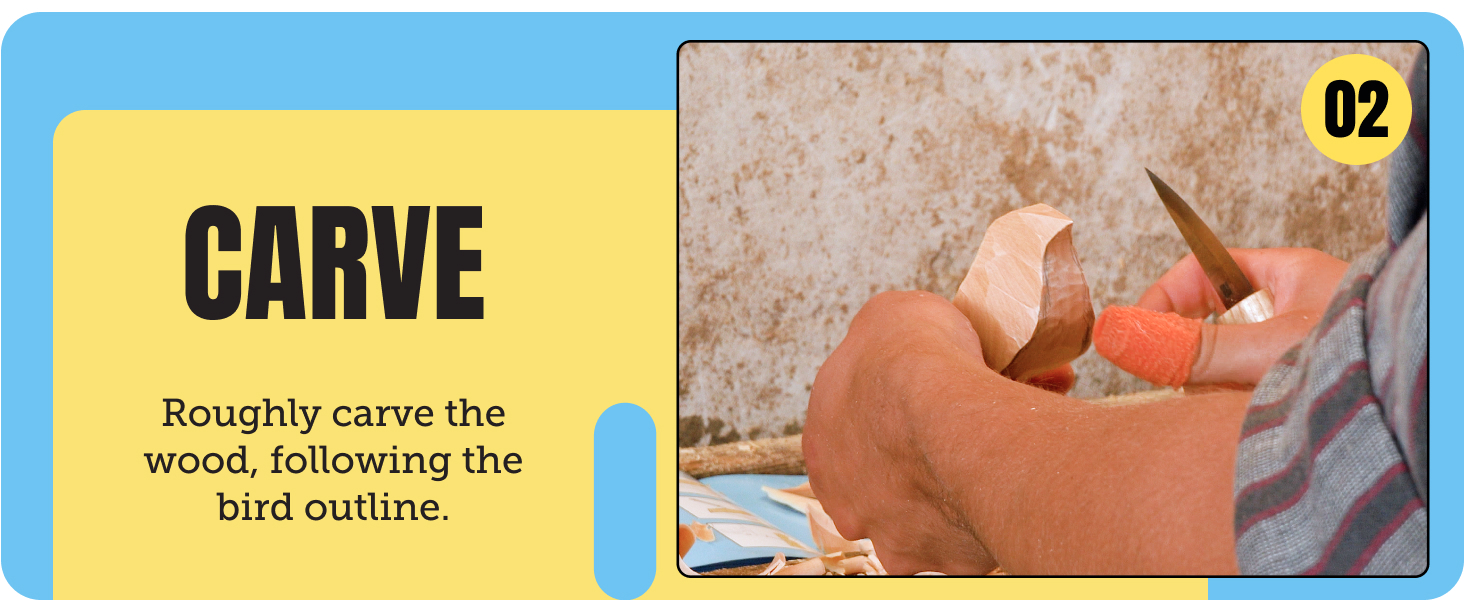
Roughly carve the wood away, following the bird outline. Take off thin shavings rather than chunks.

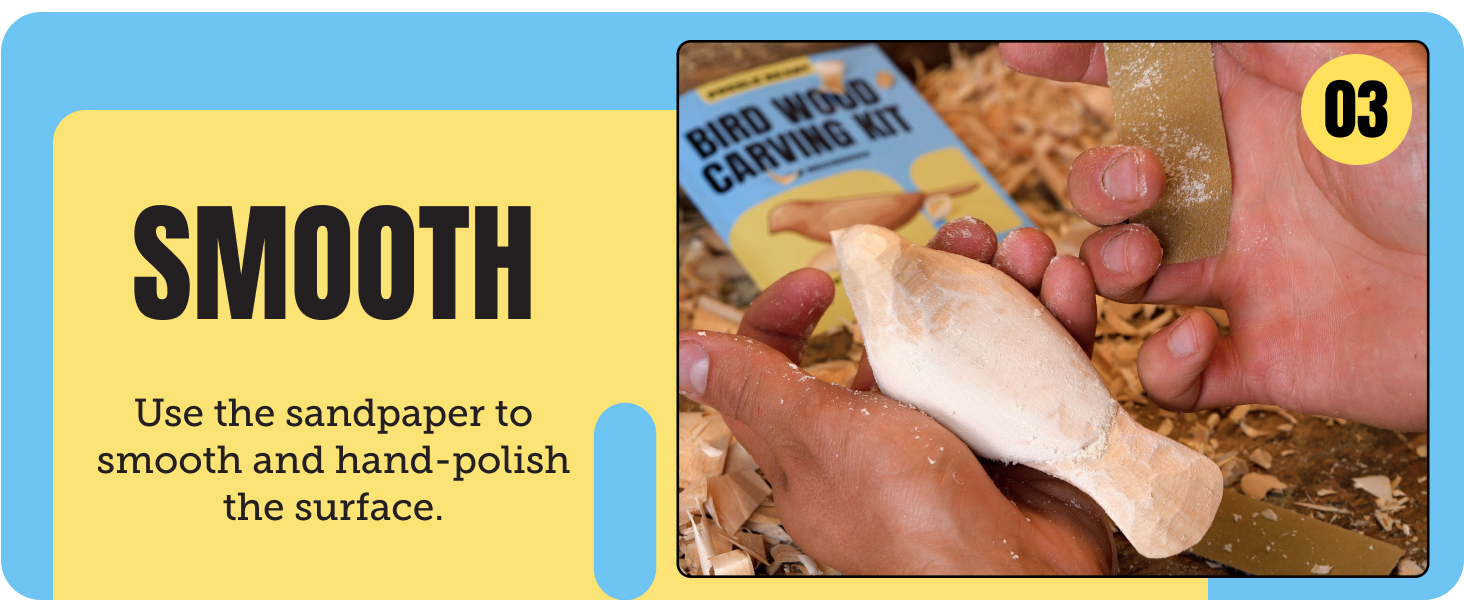
Use the sandpaper to smooth out knife marks and hand-polish the surface.

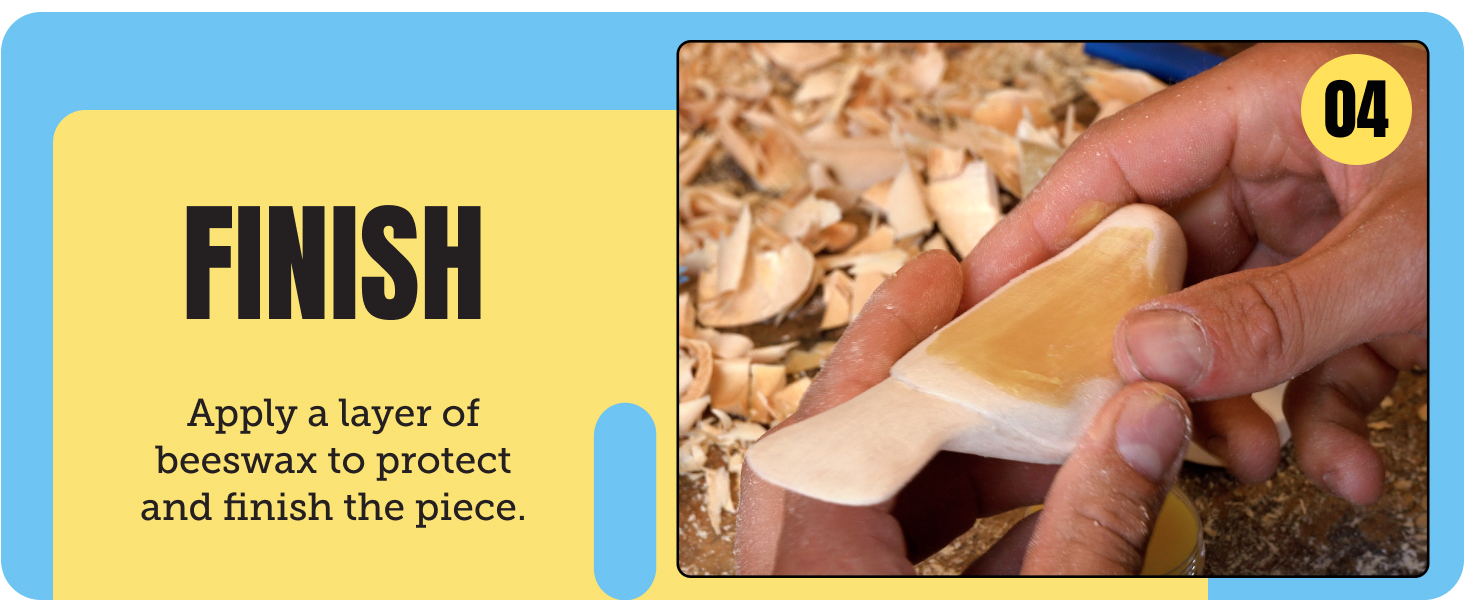
Apply a thin layer of beeswax to protect the wood and bring out the grain.

Cedar cuts cleanly when you carve with the grain, going "downhill" along the fibres. If the blade digs in or the wood splits ahead of the cut, you're going against it. Turn the piece around and try again from the other side.
Wipe the blade clean and dry after each session, then store it back in the box, out of reach of children. A quick strop before you put it away means it's ready to go next time.
Yes. The kit is built for complete beginners. The blocks come pre-marked, and the manual and this video take you through every step. Your first bird won't be perfect, and that's part of it.
There's no clock on it. Most people carve over a few relaxed sessions rather than in one go. Stop when your hands get tired, since tired hands slip.
Adjust the shape to suit. A slimmer bird is still a bird. That's also what the second cedar block is for: treat the first one as practice.
It needs stropping. Follow the steps in "Stropping your knife" above. A few passes usually brings the edge right back.
Yes, with an adult alongside them the whole time. The blade is sharp, so make sure they use the finger tape and always carve away from their body.
Sorry about that. Contact us with a photo and where you bought the kit, and we'll sort it out.
More designs are on the way. Follow @puzzlereadyofficial to hear first.
Post your carving, first attempt or tenth, and tag us. We love seeing where every bird ends up.
@puzzlereadyofficial
A quick review helps someone else pick up their first knife. Two minutes, and it means a lot to a small team.
We started with puzzles. If you like working with your hands, you might like these too.
Need a hand? Contact our team. We read every message.